



Have you ever come back from a sighting sure you'd caught something good, then opened the files at home and felt the air go out of the room? The frame that looked sharp and alive on the back of the camera turns flat and ordinary on a calibrated screen.
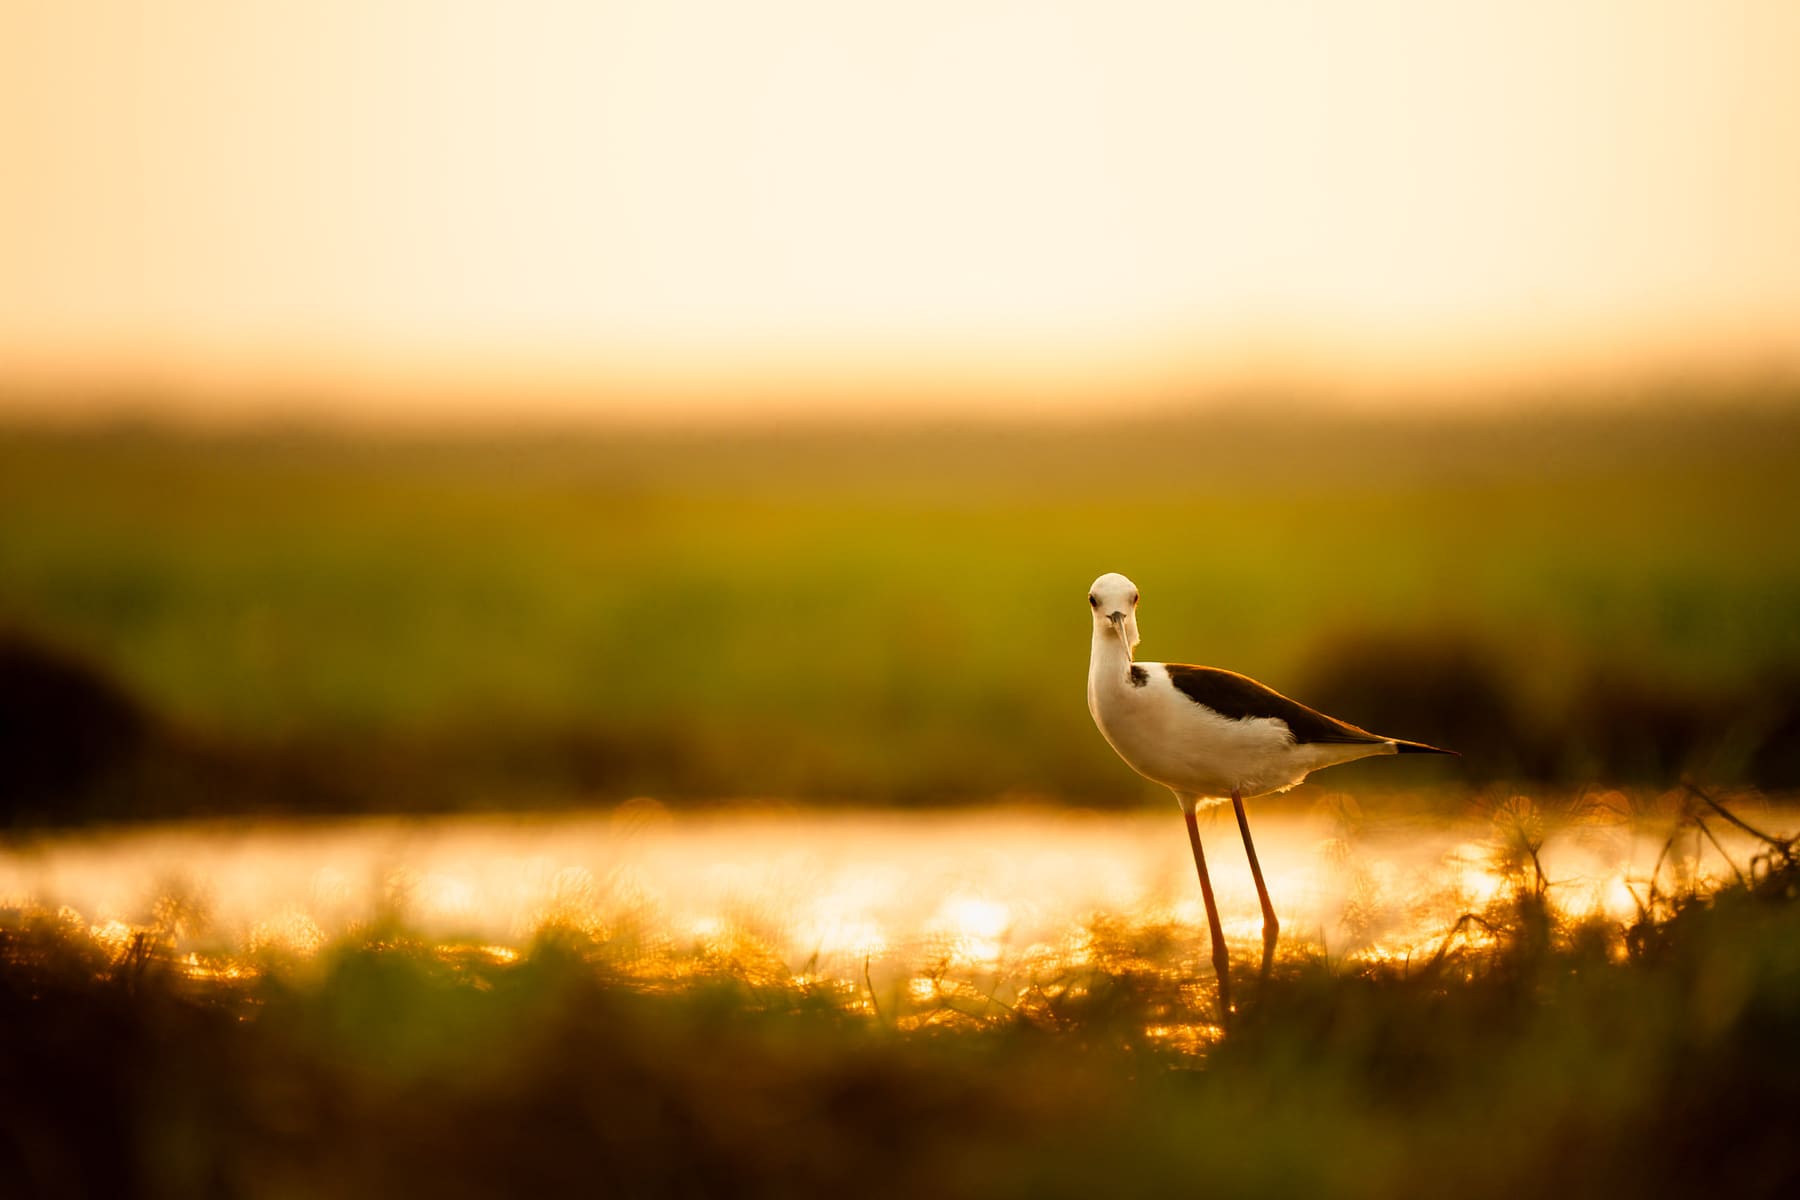
I've been there, and I've watched a lot of photographers go through the same quiet disappointment. Most of the time the problem isn't the animal or the gear. It's a handful of decisions, light, angle, settings, timing, that separate a frame you keep from one you delete.
Here are the seven that changed my photography the most. They work whether you're with elephants in Kaziranga National Park or birds at a sanctuary near home. You don't need all seven at once. Start with two or three, and you'll see the difference on your next outing. If you'd rather learn them in the field, that's what my wildlife photography workshops in India are for.
1. Follow the light, not the gear
The light an hour after sunrise and an hour before sunset is soft, warm, and directional. It rakes across fur and feathers and brings out texture and depth that the flat overhead sun simply flattens. Midday light, by contrast, sits straight down: it washes out colour and drops hard black shadows under eyes and necks that no amount of editing fully recovers.
There's a second reason to be out early and late. Animals are more active in the cooler hours. Predators move, birds forage, and behaviour comes to you instead of you chasing it.
Try this:
- Reach your spot 30 to 45 minutes before sunrise, and stay until 30 minutes after sunset in the evening.
- Use Auto ISO with a ceiling set below your camera's noise threshold. On most modern bodies that's somewhere around ISO 3200 to 6400. Check yours.
- Wait. The best light often lasts only a few minutes, right after sunrise or just before the sun goes.
A starting point for golden hour:
- Aperture: f/4 to f/8, depending on your lens and how much depth of field you want
- Shutter speed: 1/1000s or faster for active animals
- ISO: Auto, capped in your camera's clean range
- Metering: spot or centre-weighted
2. Get low and disappear
Shoot from the animal's eye level and the whole feel of the frame changes. The background falls away into a soft wash, the subject separates cleanly, and the viewer stops looking down at the animal and starts sharing its world. A high angle from a jeep seat does the opposite: it shrinks the subject and piles a cluttered background behind it.
How to get there:
- Rest the lens on a bean bag over a vehicle window frame.
- Use a ground-level support, or remove the centre column from your tripod.
- Work from a hide or blind where one is allowed.
- Even kneeling or lying prone changes the frame completely.
- In a jeep, take a corner seat where you can drop the camera toward the ground.
Always stay safe and follow park rules. Don't leave the vehicle where it isn't permitted. Those rules exist for good reasons.
What you'll notice straight away:
- The background blurs into clean separation behind the subject.
- The eyes become the centre of the frame.
- The image shifts from a documentary record to an intimate portrait.
- Grass, terrain, and foreground start to frame the animal naturally.
 1/800s at f/6.3, spot metering, -0.3 EV. A cheetah in the Masai Mara, Kenya.
I made the frame above in Masai Mara, Kenya using exactly this approach. Dropping low with a Sony a7RV and the FE 70-200mm f/2.8 GM II let me compress the background and let the subject sit forward, clean and isolated.
3. Settle your technical foundation
Motion blur is the most common thing standing between you and a sharp frame. A small movement from the animal or your own hands turns a good moment into a delete. A faster shutter freezes both.
Where I start:
- Shutter speed: 1/1600s for most wildlife. Faster, 1/2000s to 1/2500s, for birds in flight or fast movement.
- Aperture: f/5.6 to f/8 for a balance of sharpness and depth of field.
- Autofocus: continuous AF (AF-C), with eye or animal detection if your camera has it.
- Drive mode: high-speed continuous, so you catch the sequence.
- Stabilisation: on for handheld, off on a tripod.
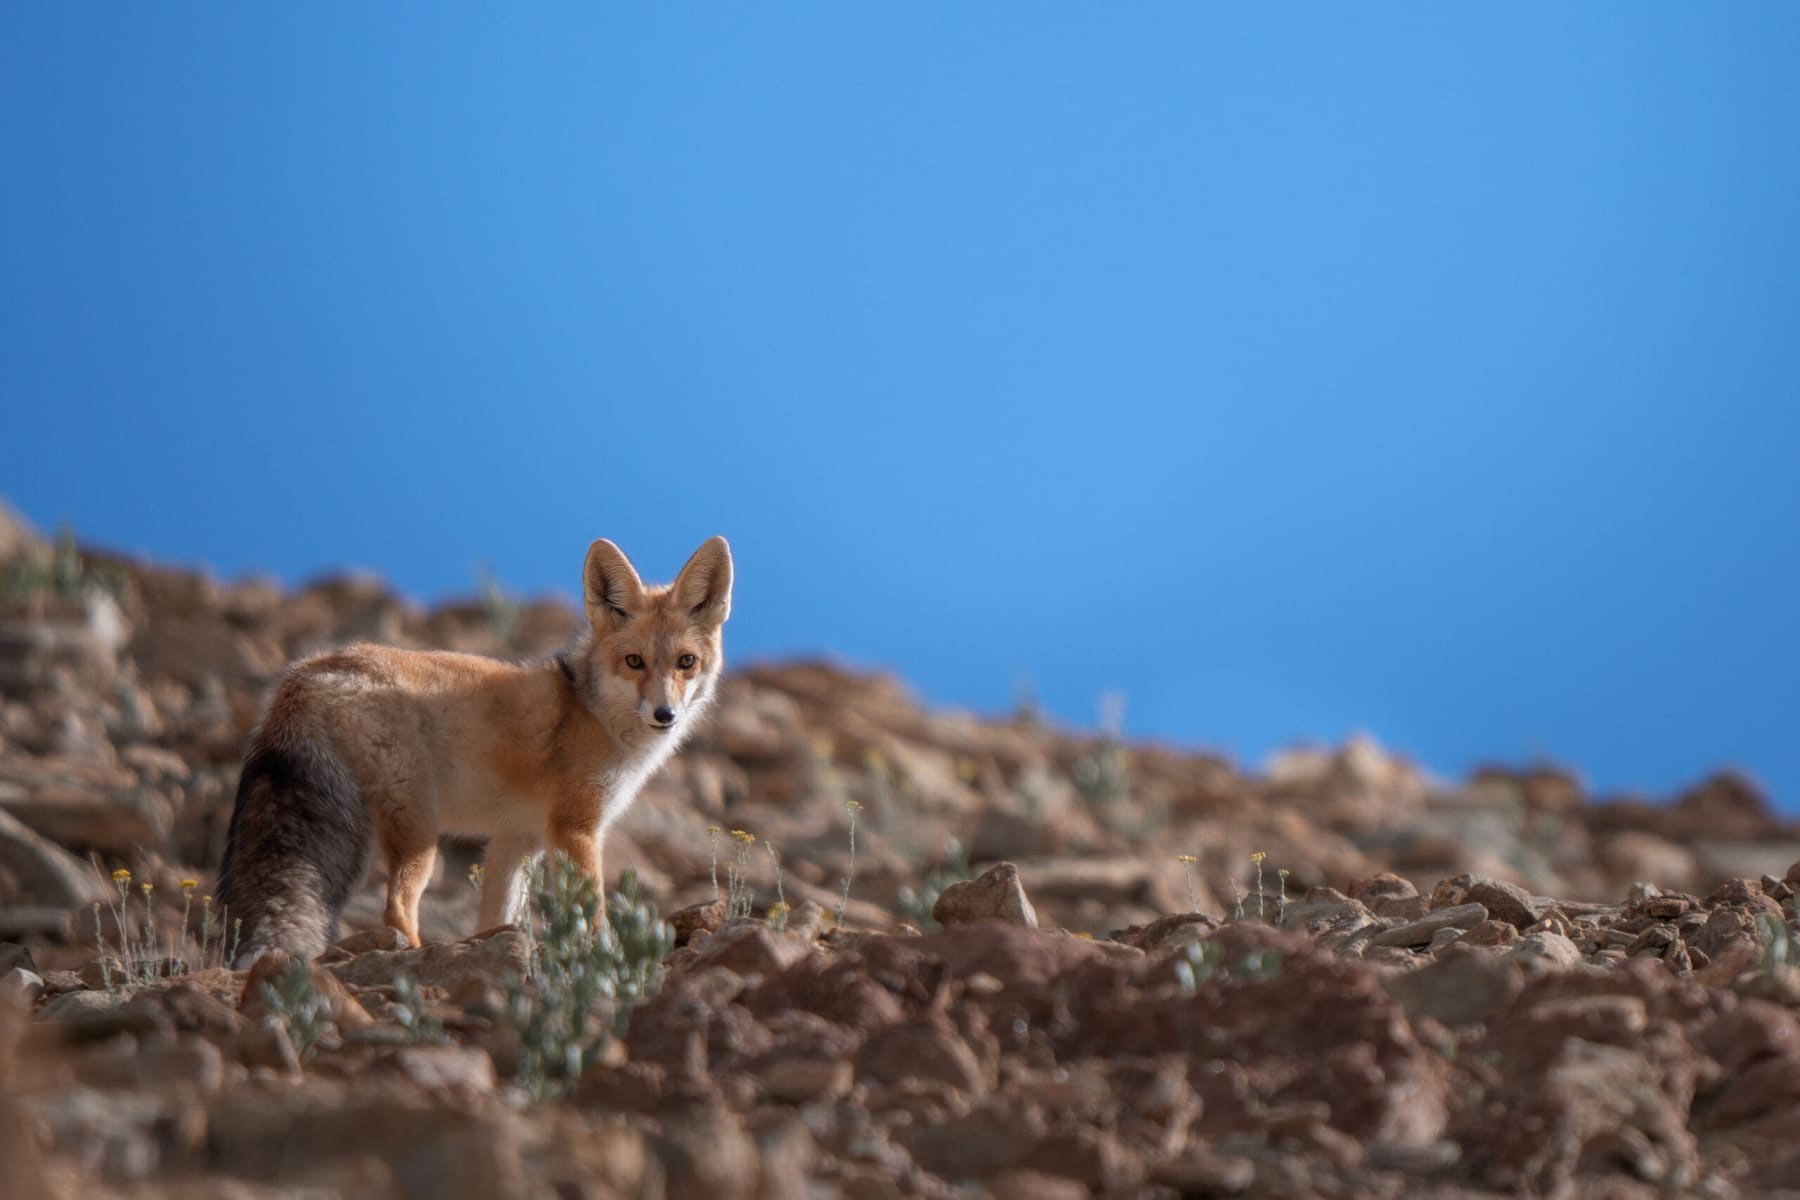 A red fox (Vulpes vulpes) from the Ladakh region
These are starting points, not commandments. As you gain hours in the field, you'll feel when to break them on purpose. Once the basics are steady, a slower shutter and a deliberate pan can turn motion into something expressive, but learn the sharp frame first.
4. Learn the animal before you shoot it
Knowing what an animal is likely to do next is the closest thing photography has to seeing the future. It cuts wasted frames and puts you a half-second ahead of the moment everyone else misses. Wildlife photography is as much about wildlife as it is about photography.
Spend whole outings just watching, camera down. Notice:
- how the animal moves through its space
- where it pauses or rests
- what makes its behaviour change
- the rhythm of its day
- how it reacts to other animals
Patterns worth reading:
- Birds often return to the same perch.
- Many animals follow set routes and trails.
- A predator's body language signals a hunt before it starts.
- Feeding times tell you when action is coming.
And the small tells just before something happens:
- a body tensing before it moves
- ears swivelling forward on a mammal
- a bird crouching and "kicking" just before takeoff
- eye contact between animals before they interact
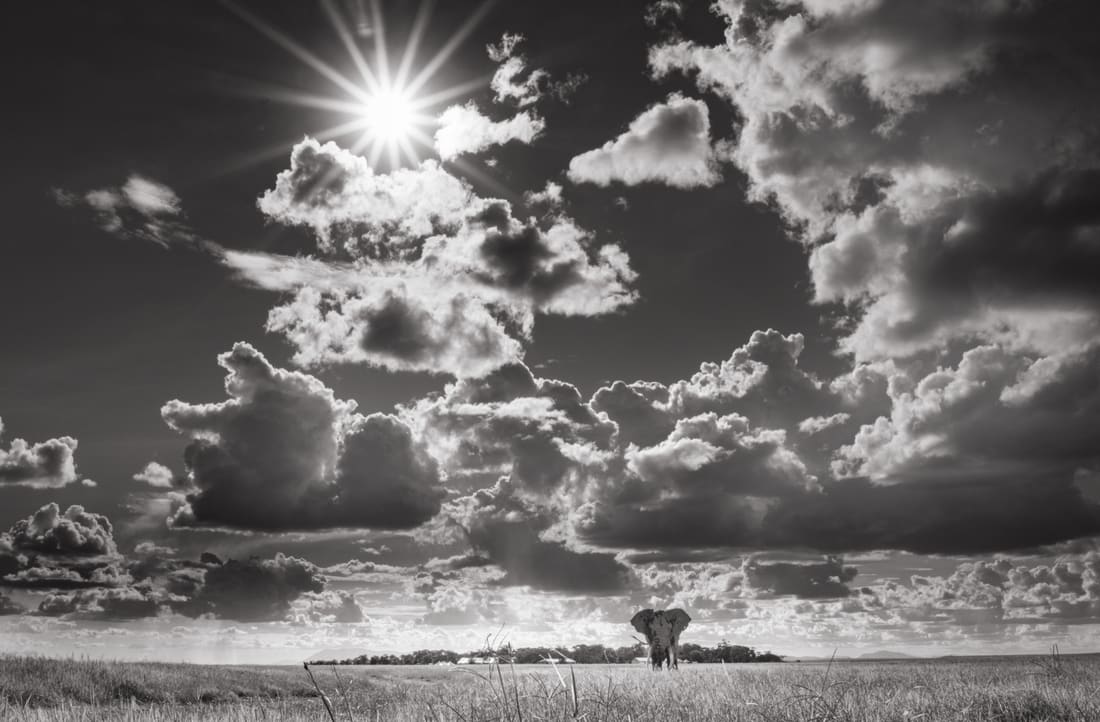
 Alone but not lonely. An African elephant in the Masai Mara.ISO 100 · f/2.8 · 1/1250s · 70mm
Here's one that stuck with me: photographing kingfishers, I noticed they always look down at the water, shift their footing, and then dive. Once I saw the pattern, I could be ready on the dive instead of reacting to it. Field guides, documentaries watched with a photographer's eye, and time spent near naturalists all build this faster than you'd expect.
5. Compose by subtraction
Forget the rule of thirds for a moment. Ask the question underneath it instead: where does the eye land first, and what is pulling it away? A clean composition is mostly managing that tug of war. A well-built frame of a common bird will beat a cluttered frame of a rare one every time.
I have unpacked this idea properly in the art of subtraction. The short version: before you press the shutter, look at the whole frame, not just the animal, and decide what to remove:
- Bright spots anywhere but the subject. The eye goes to the brightest thing first.
- Branches or stems cutting across the body or the head.
- A busy background competing for attention.
- A horizon line slicing awkwardly through the subject.
Give the animal room to breathe, and give more of it in the direction it's looking or moving. That space is what lets the frame feel open instead of cramped.
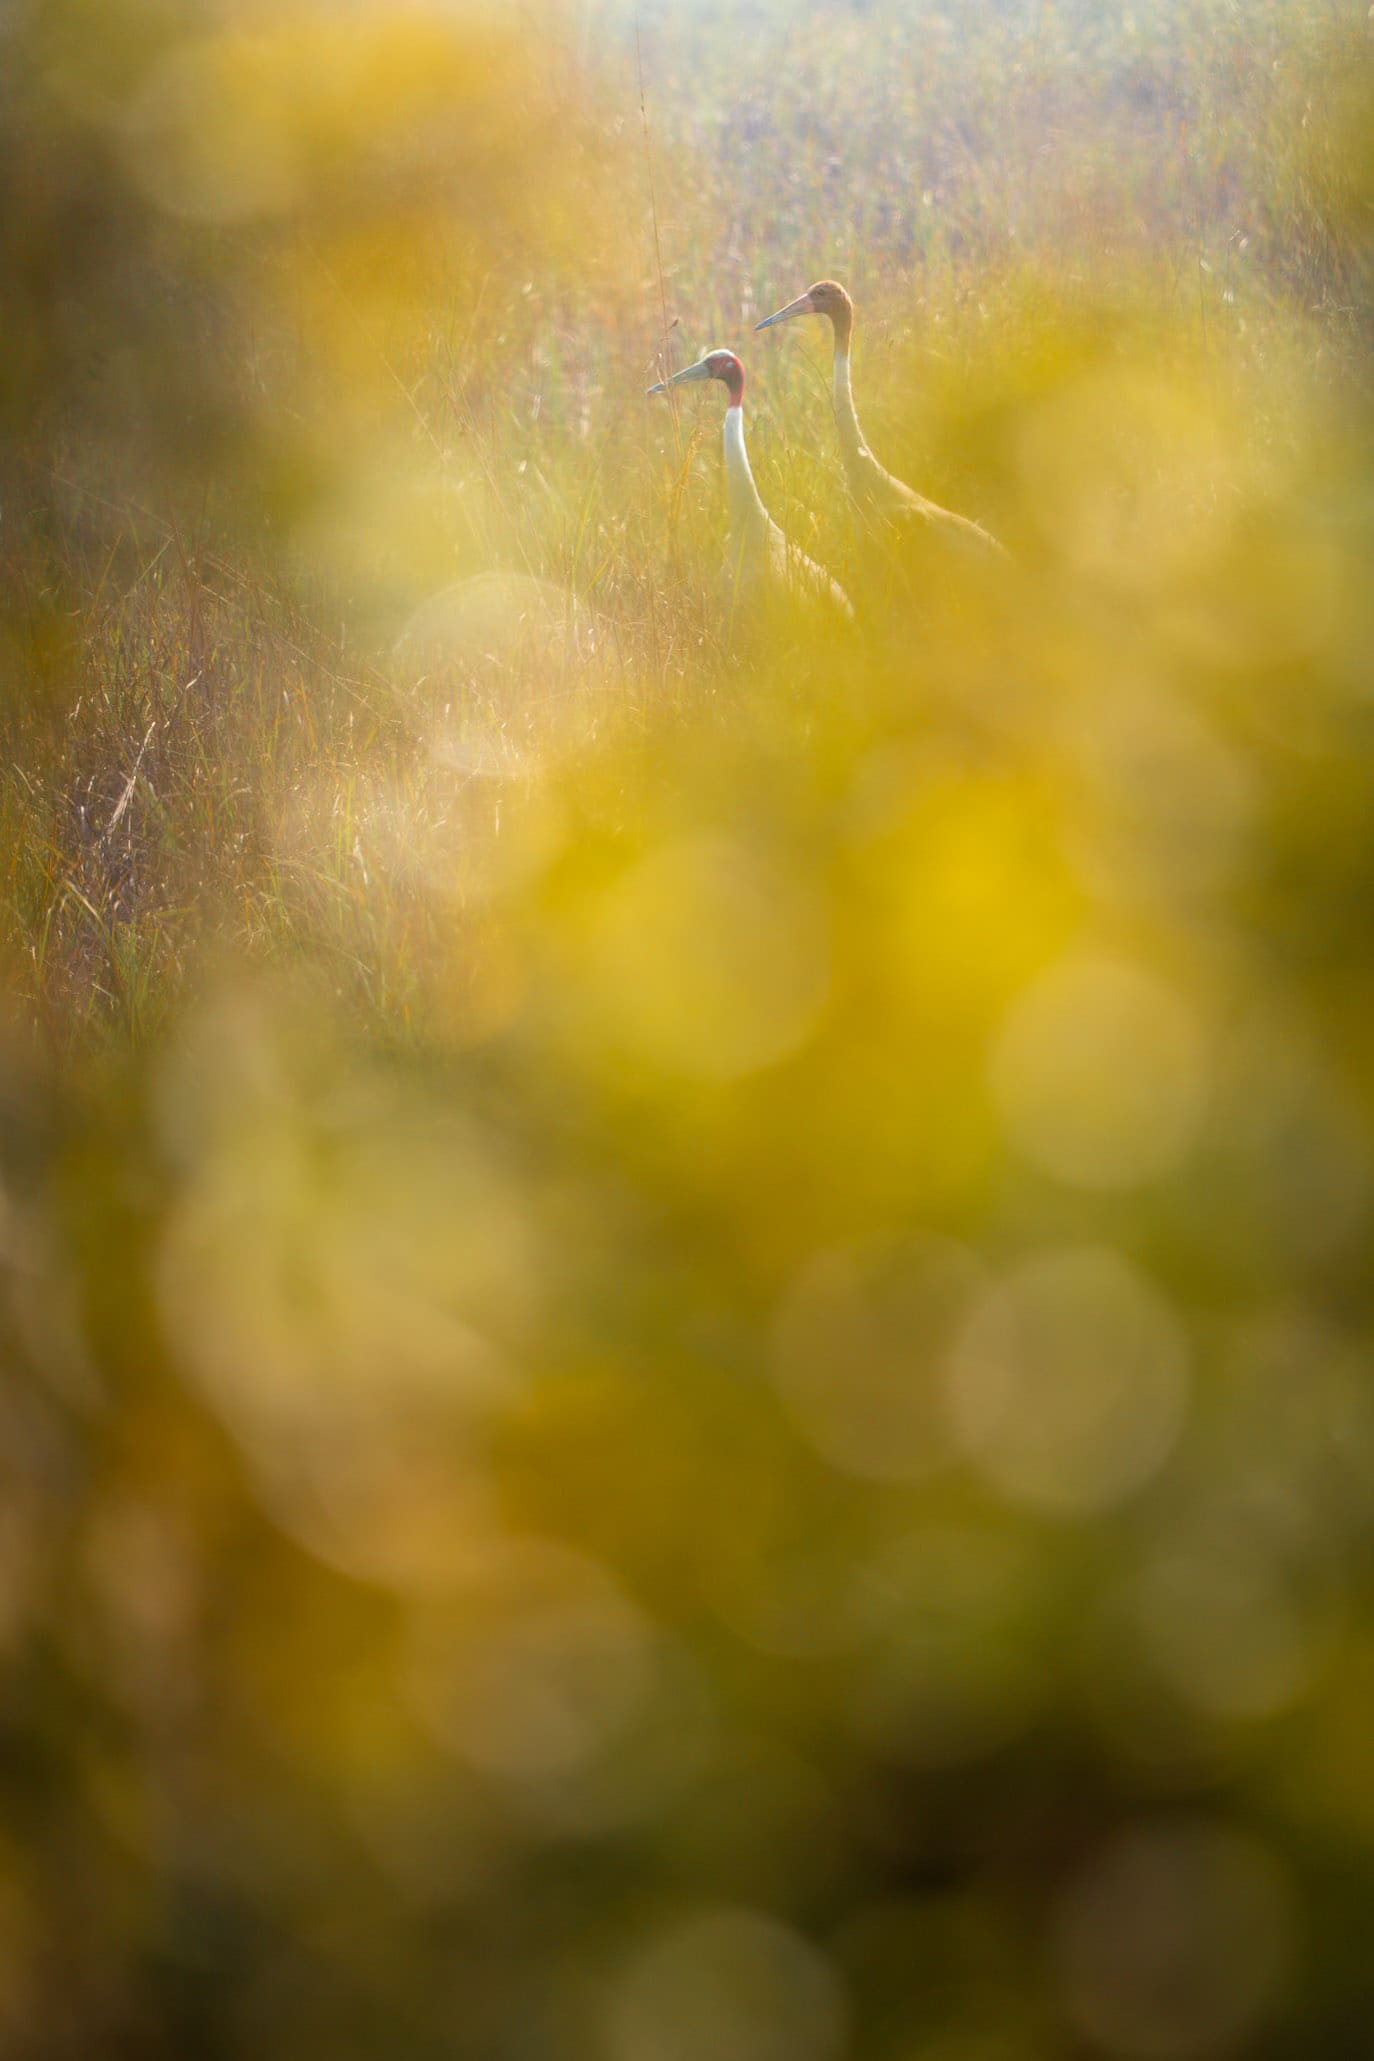 Using foreground and light to build a composition with depth
A simple field habit: don't lock on and fire. Take a breath and work the frame first.
- Step slightly left or right.
- Raise or lower your position.
- Wait for the animal to move onto a cleaner background.
- Zoom in or out to simplify what's in the frame.
Often, shifting a metre is the difference. You can always crop later, but you can't add back what you never put in the frame, so shoot with intent and leave yourself a little room.
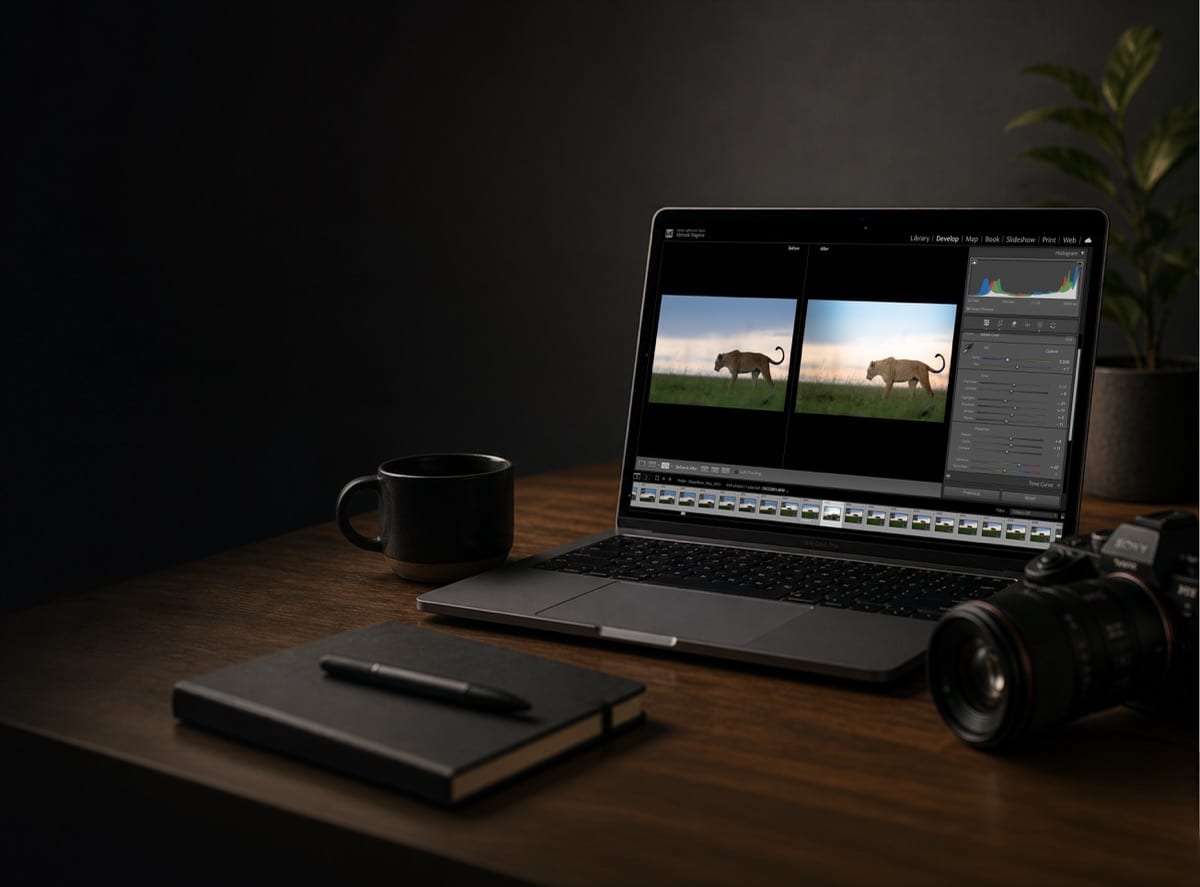
6. Edit to match what you saw
Even the photographers you admire edit. The goal isn't to fake a scene, it's to bring the file back to what your eye actually saw, since the sensor records light differently than you perceived it. Small, considered adjustments recover detail and restore the feeling you had in the moment.
I work in Lightroom Classic. Across the whole image first:
- White balance: correct it, or warm and cool to taste.
- Exposure: lift it if it's dark, but don't blow the highlights.
- Contrast: add some, without the harsh HDR look.
- Highlights and shadows: recover detail at both ends.
- Whites and blacks: set true white and black points.
- Vibrance over saturation: it lifts colour more gently.
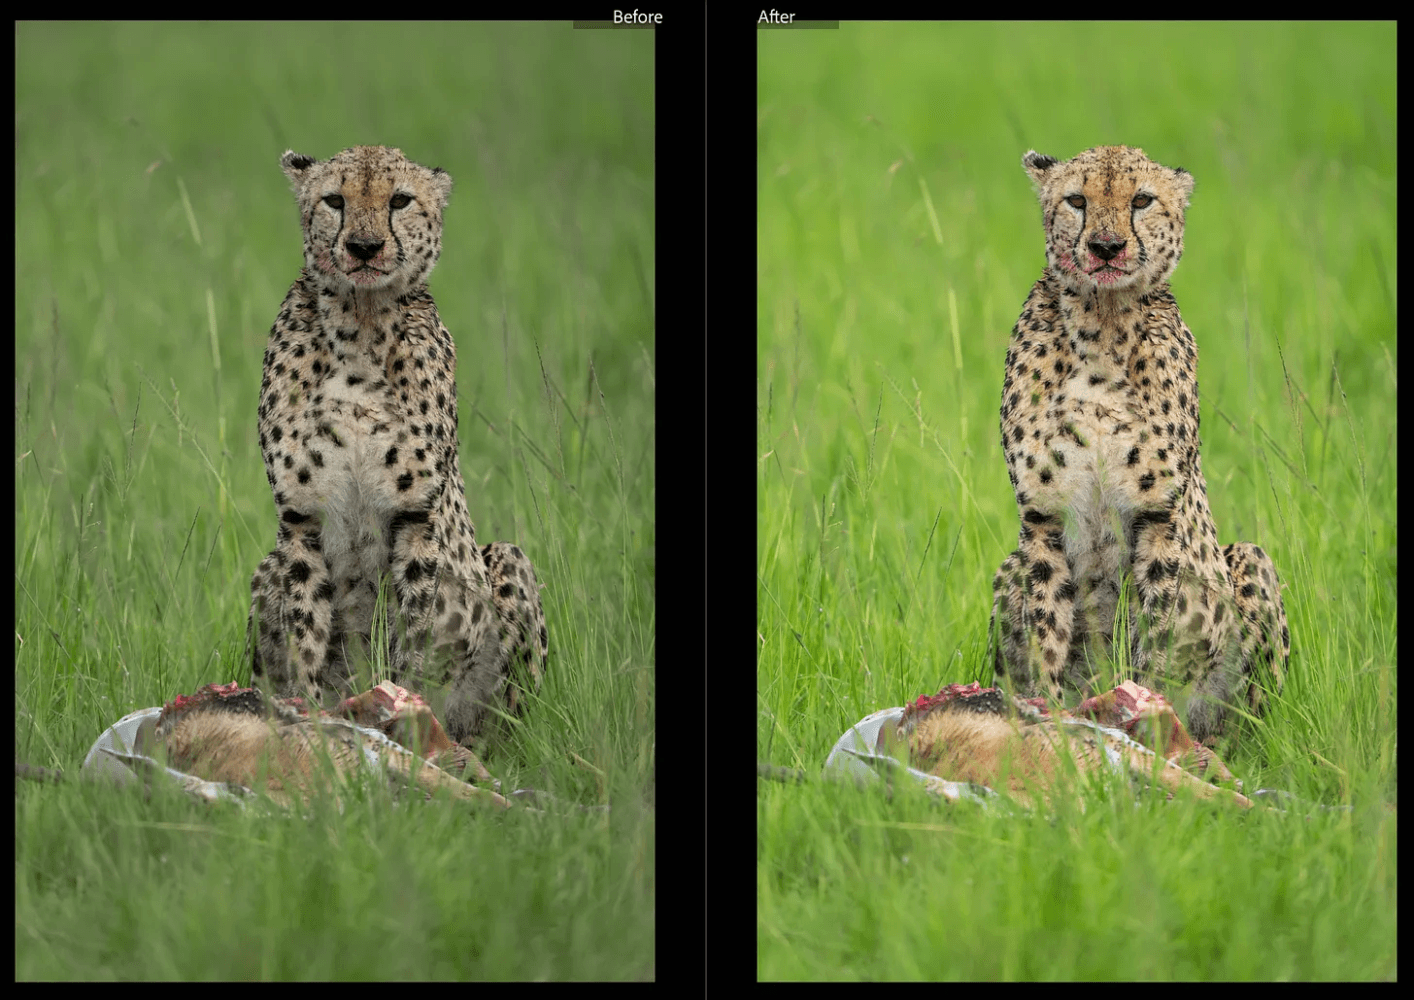 A simple colour profile change, and the difference it makes
Then, locally, only where it helps:
- Lift the eyes a touch with a brush or radial filter.
- Tone down any hot spots on the subject.
- Add a gentle vignette to hold the eye toward the centre.
- Sharpen selectively on the eyes and fur.
Switching the colour profile from Adobe Color to Adobe Vivid or Adobe Landscape can also change the whole feel quickly. The rule under all of it: if it looks over-edited, it is. Enhance, don't fabricate, and let a recognisable, restrained style build across your work. Topaz for noise and Photoshop for the occasional clean-up have their place, but most of a good edit is small moves made with restraint. If you enter competitions, check their editing rules first.
7. Technique over gear, every time
This is the one I'd underline. Better gear is real: faster autofocus, cleaner high ISO, more reach. But the frames that hold up aren't built from gear. They're built from patience, from being in the right light, from a clean composition, from reading behaviour, and from knowing your camera well enough to forget about it.
I've seen entry-level bodies and kit lenses produce frames that outshine work shot on flagship cameras and long, expensive glass. The difference was always light, timing, and composition.
A quick pass before you press the shutter:
- Is the light working for me, or against me?
- Can I get lower, or to a better angle?
- Is my shutter fast enough to freeze this?
- What is the animal about to do?
- Is the frame as clean as I can make it?
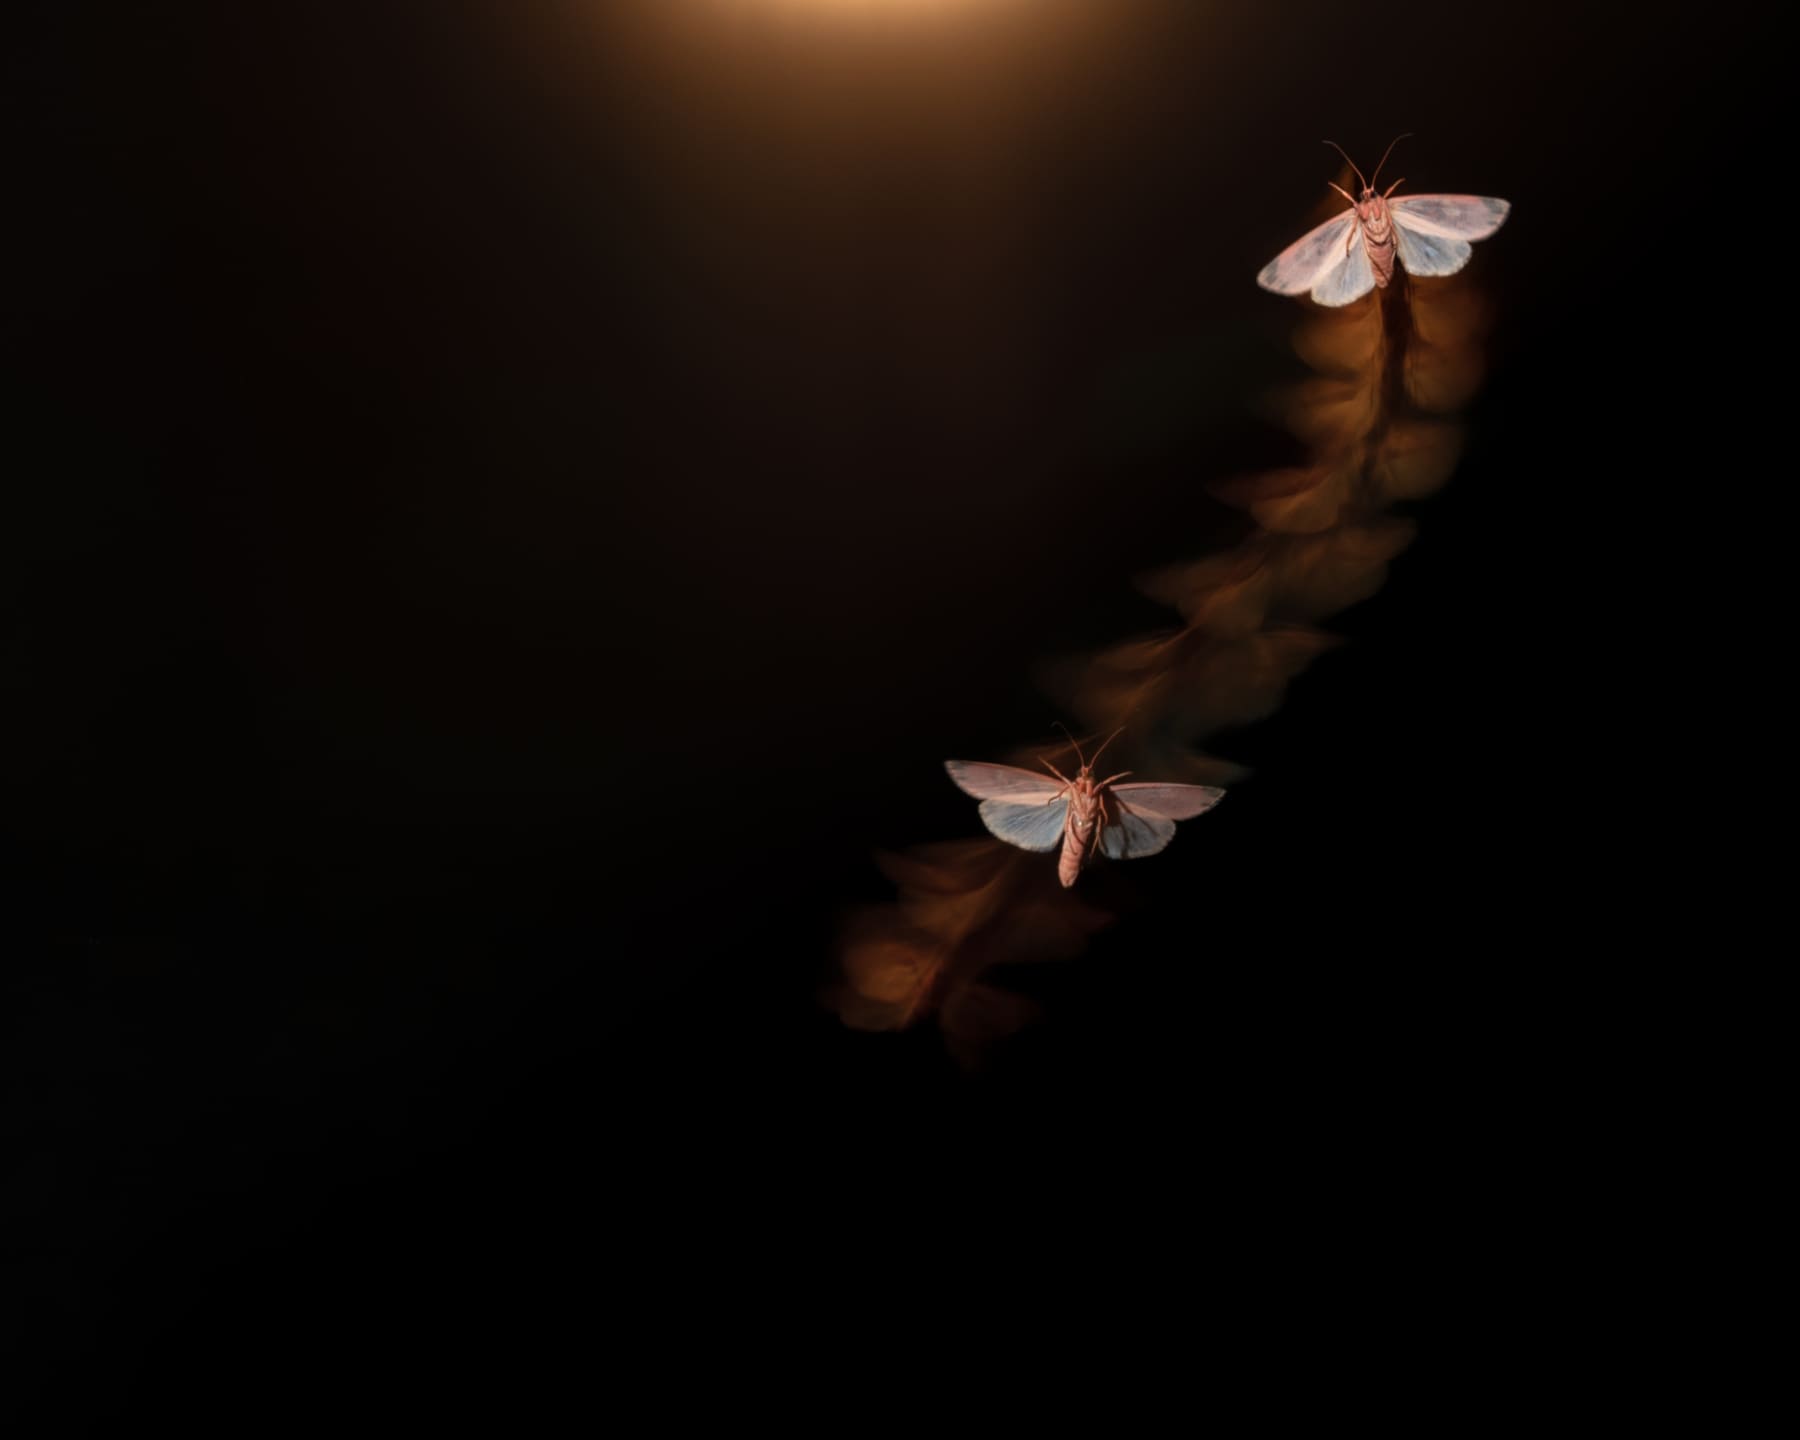 Nature's calligraphy. A single moth, a single frame.
Gear genuinely matters when you need serious reach, when the light is very low, when fast action demands top-tier autofocus, or when you're printing big or selling commercial work. Short of that, your hours in the field will teach you more than any upgrade. If you're investing, I'd put it in this order: master what you own, then field time, then a workshop or mentor, then better glass, and only then a new body, once the body is genuinely what's holding you back.
Where to start this week
You don't need an international safari or a flagship kit to use any of this. Tigers in Tadoba, one-horned rhinos in Kaziranga, the winter crowds of birds in Bharatpur, or the common species near your home all reward the same habits.
This week, do three things: plan one outing around sunrise or sunset, set up your shutter, AF, and ISO before you go, and spend one session just watching an animal without lifting the camera. This month, practise getting low, work on cleaner compositions, and build a simple, repeatable edit. Then keep going: study frames you admire and work out why they hold, share your work somewhere honest, and keep learning the animals themselves.
If you want company on that, my workshops are built around exactly these habits, in the field. And if you'd like a field story that shows patience doing the heavy lifting, here's a morning with white rhinos at Lake Nakuru.
A few questions I hear often
What settings should I start with? Shutter speed 1/1600s or faster, aperture f/5.6 to f/8, Auto ISO with a clean ceiling, continuous autofocus, and burst mode. Adjust from there as the situation asks.
Do I need an expensive camera? No. Technique, light, and composition decide far more than the body does. Learn the gear you own before you upgrade.
What's the best time of day? The hour around sunrise and the hour around sunset. The light is soft and directional, and animals are most active.
How do I get sharper frames? Keep the shutter at 1/1600s or higher, use continuous autofocus on the eye, shoot near your lens's sharpest aperture (f/5.6 to f/8), and steady your body. A faster shutter and clean focus solve most of it.
RAW or JPEG? RAW. It holds far more information and gives you room to recover detail and adjust exposure later.
How do I photograph birds in flight? Shutter at 1/2000s or faster, continuous AF with tracking, burst mode, and a smooth pan. Start with slower, larger birds before the fast ones.
What focal length do I need? For most wildlife, 400mm to 600mm or equivalent is ideal, but plenty of strong work is made at 200mm to 300mm when you can get closer or the subject is large.