






That Sinking Feeling
You've waited forty-five minutes in the cold. The tiger finally steps out of the bush. You raise the camera, hold your breath, and press the shutter. Then you look at the back of the screen, and your heart drops. Soft again.
Every wildlife photographer knows that feeling. I've had it more times than I can count. The good news is that a soft frame isn't a verdict on your skill. It's almost always one of three things going wrong, and each of them has a fix.
I came to photography from user experience design, where you don't treat a problem as bad luck. You find the cause and you remove it. Sharpness works the same way. Let's work through it together.
Why wildlife photos come back blurry: the three causes
Before fixing the problem, it helps to name it. Blur in a wildlife frame almost always traces back to one of three causes.
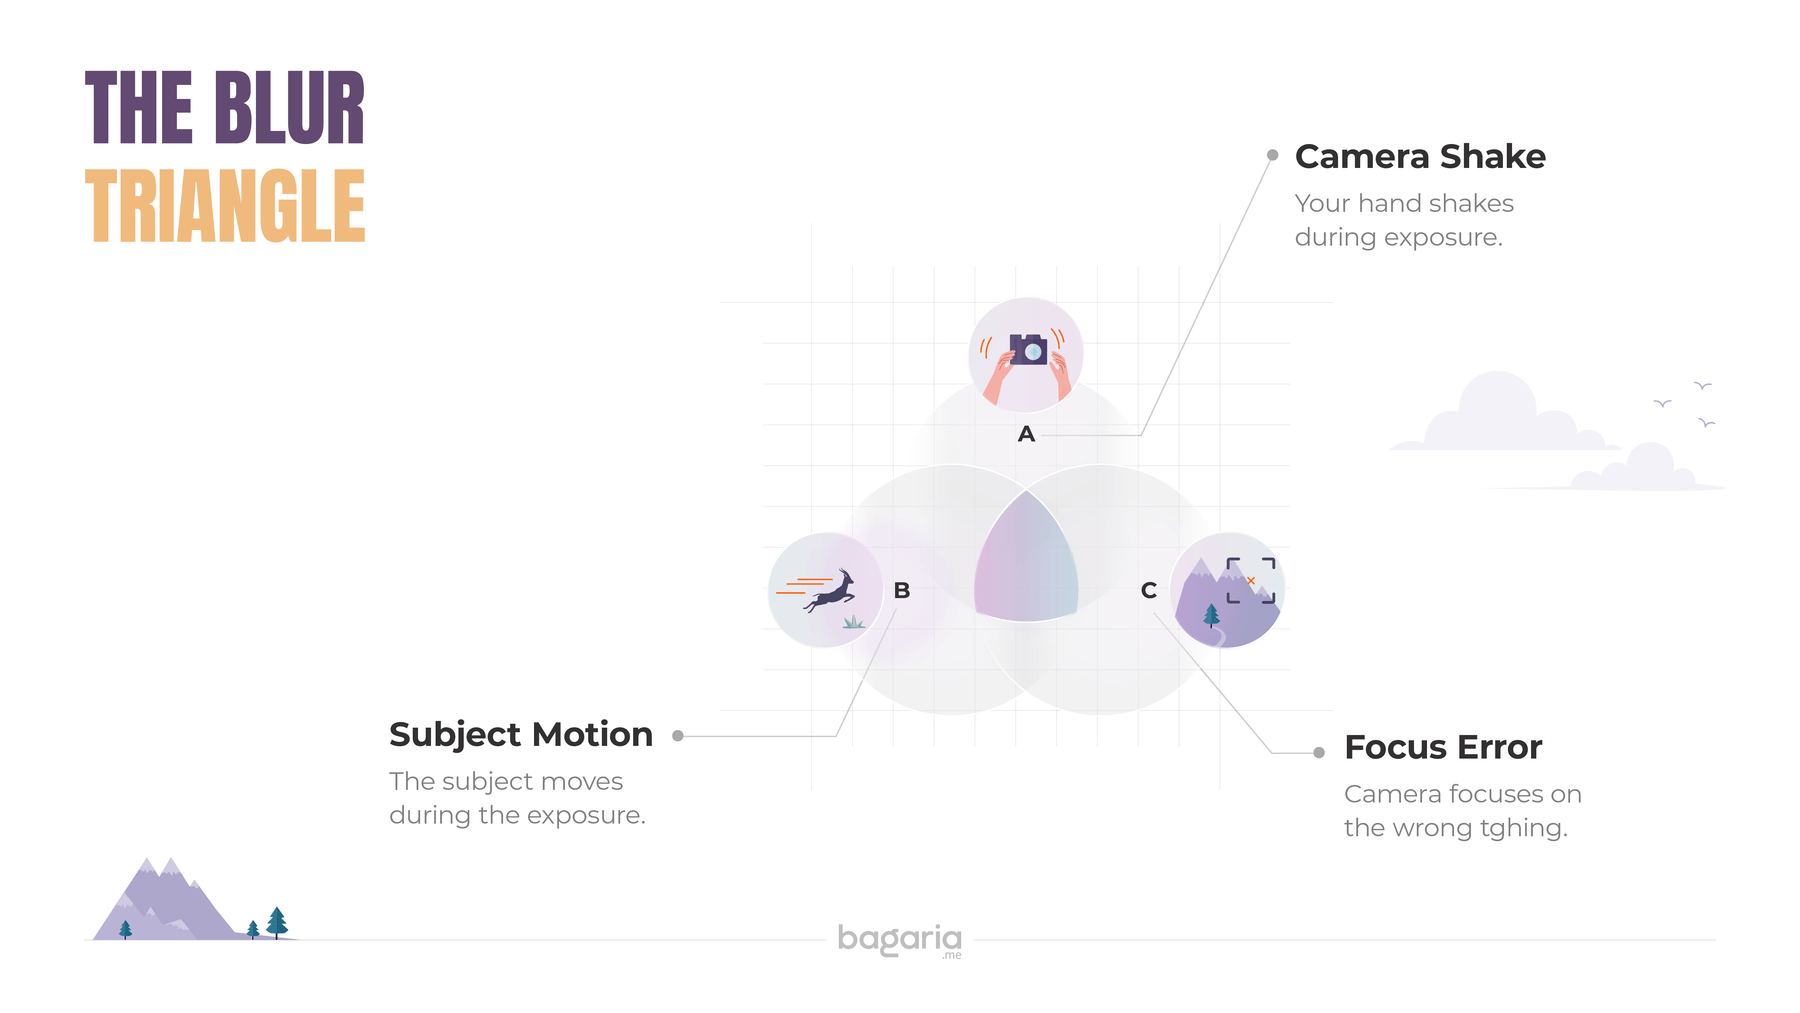 The Blur Triangle by Abhisek Bagaria
- Camera shake. Your hands move during the exposure.
- Subject motion. The animal moves during the exposure.
- Focus error. The camera locks onto the wrong thing.
Let's take them one at a time.
1. Beat camera shake with a faster shutter
The problem. Even standing still, your hands shake a little. At slow shutter speeds, that small movement is enough to smear the frame. A slow shutter also lets the animal's own movement blur, so it costs you twice.
The fix. Use a faster shutter speed.
For handheld work, don't go slower than 1 / (focal length × crop factor).
A few worked examples:
- 300mm lens on an APS-C body (1.5× crop): 1/500s minimum
- 500mm lens on full frame: 1/500s minimum
- 600mm lens on APS-C (1.5× crop): 1/1000s minimum
For birds in flight or active mammals, start at 1/1000s or faster. The faster shutter freezes the animal's motion, not just your hand's.
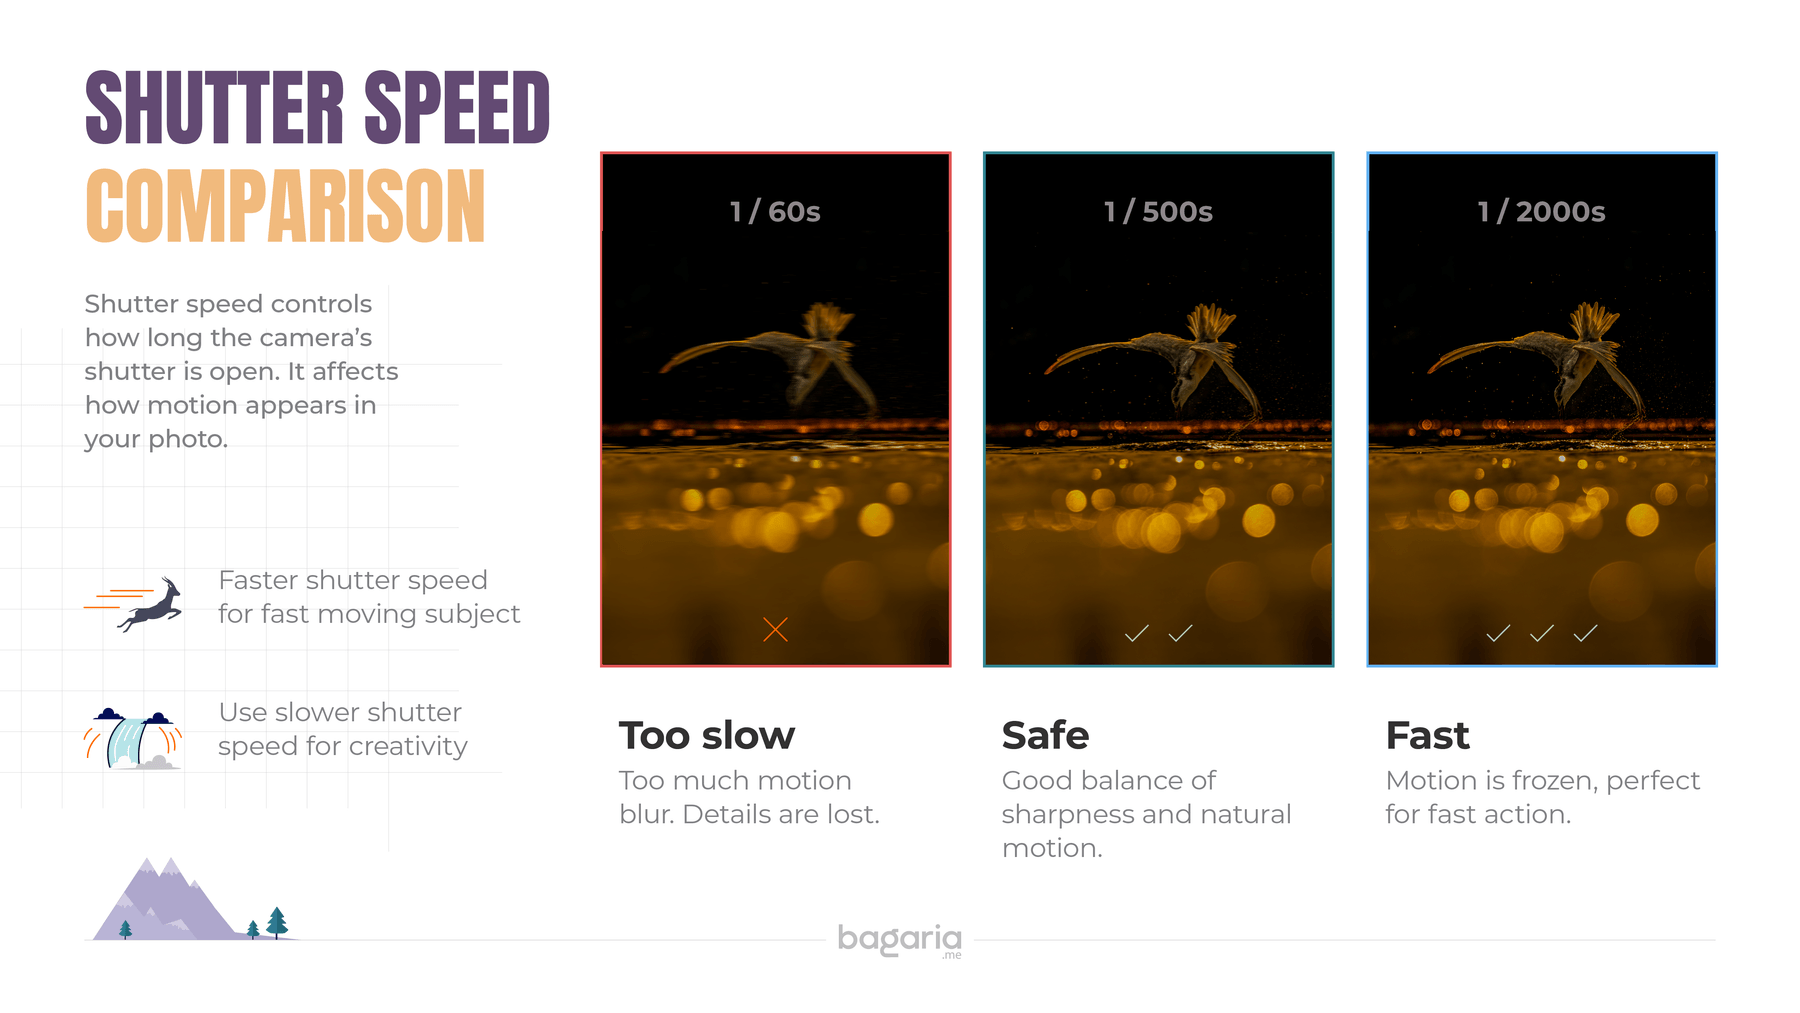
Think of shutter speed as a freeze button. The faster you press it, the less time movement has to spoil the frame.
2. Take control of your autofocus
The problem. The camera doesn't know which part of the scene you want sharp. Left to decide for itself, it often guesses wrong.
The fix. Tell it exactly where to look.
Use single-point AF, not auto-area. In your menu, change the AF area mode from Auto to Single Point or Dynamic Area. Now the camera focuses only where you place the point.
Put the point on the eye. For a wildlife frame to work, the eye has to be sharp. Move your focus point onto the animal's eye. If the eye is sharp, the photo holds, even when the tail goes soft.
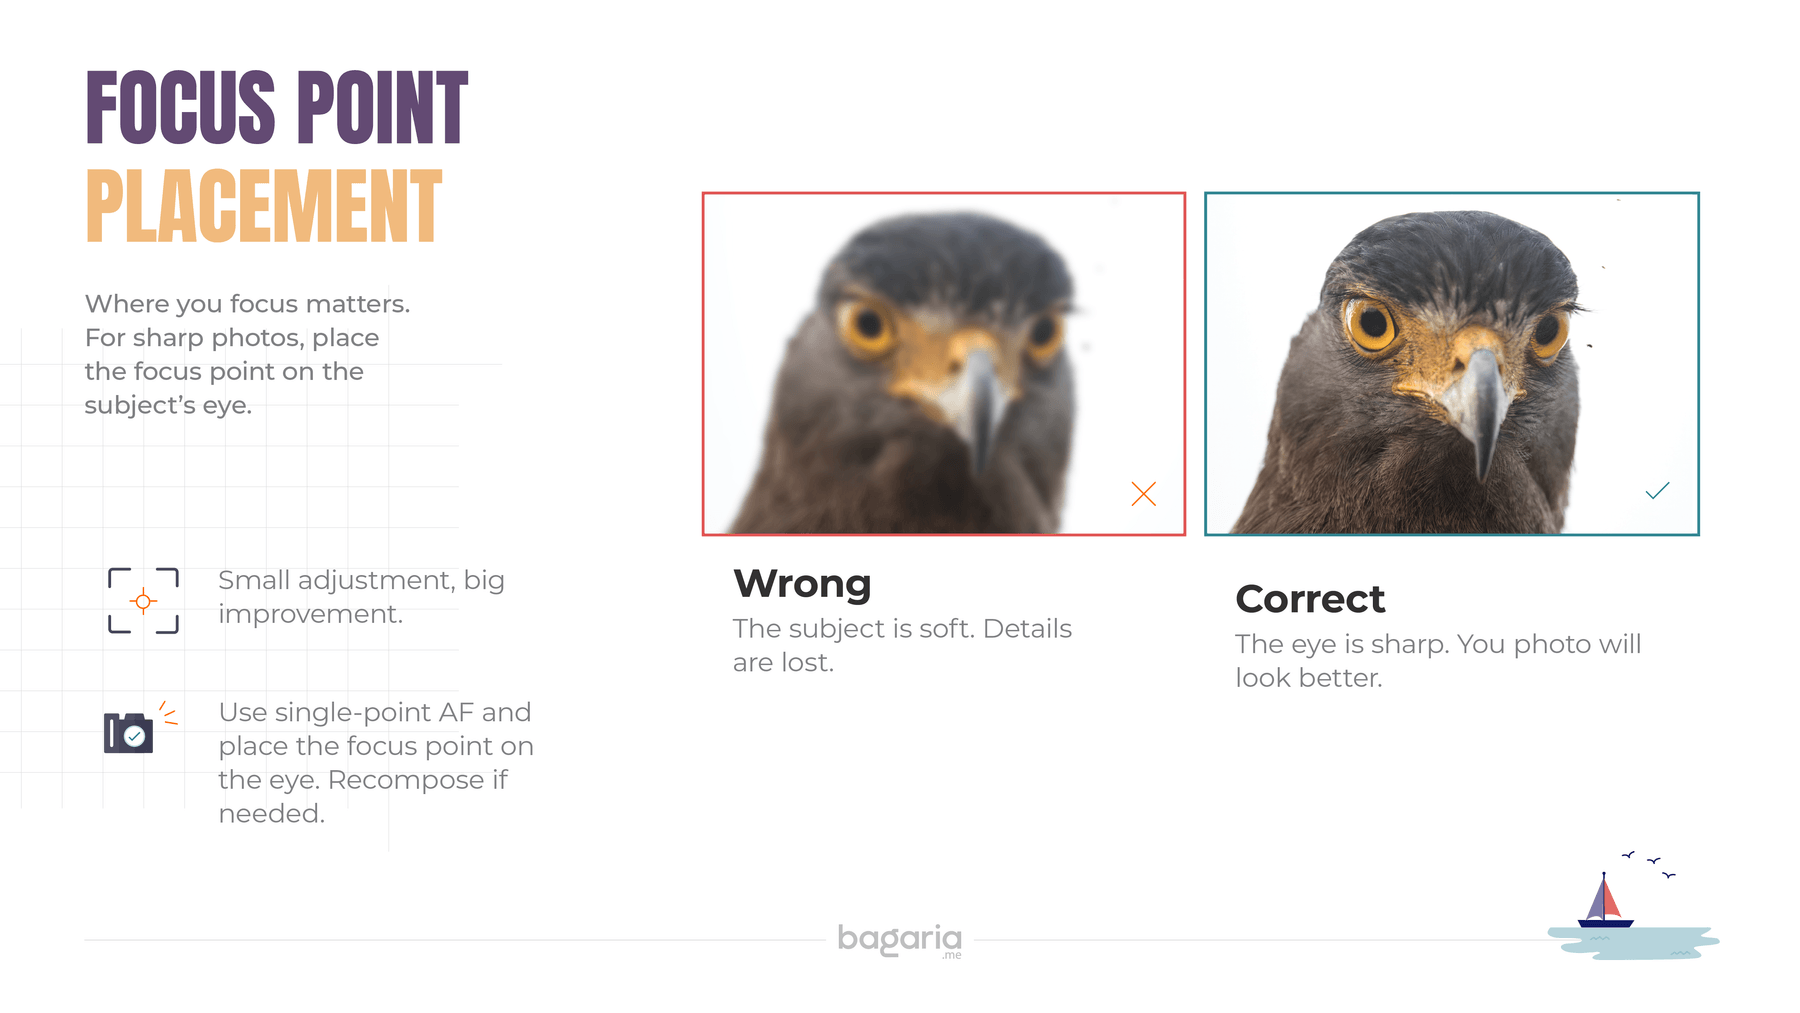 The Focus Point Placement
Match the AF mode to the subject. A still animal? Use single AF (One-Shot or AF-S). A moving animal or bird? Use continuous AF (AI Servo or AF-C), which keeps tracking as the subject moves.
Try back-button focus. Separate focusing from the shutter by assigning focus to a button on the back of the camera. The shutter then stops refocusing at the worst moment. When I made this one change, my keeper rate climbed noticeably.
Some bodies, like Sony, do something close to this by default. On most others you can set a custom button. Write to me with your camera model and I'll share the exact steps.
3. Steady your body and gear
The problem. Even with a fast shutter, loose technique still introduces shake.
The fix. Become your own tripod.
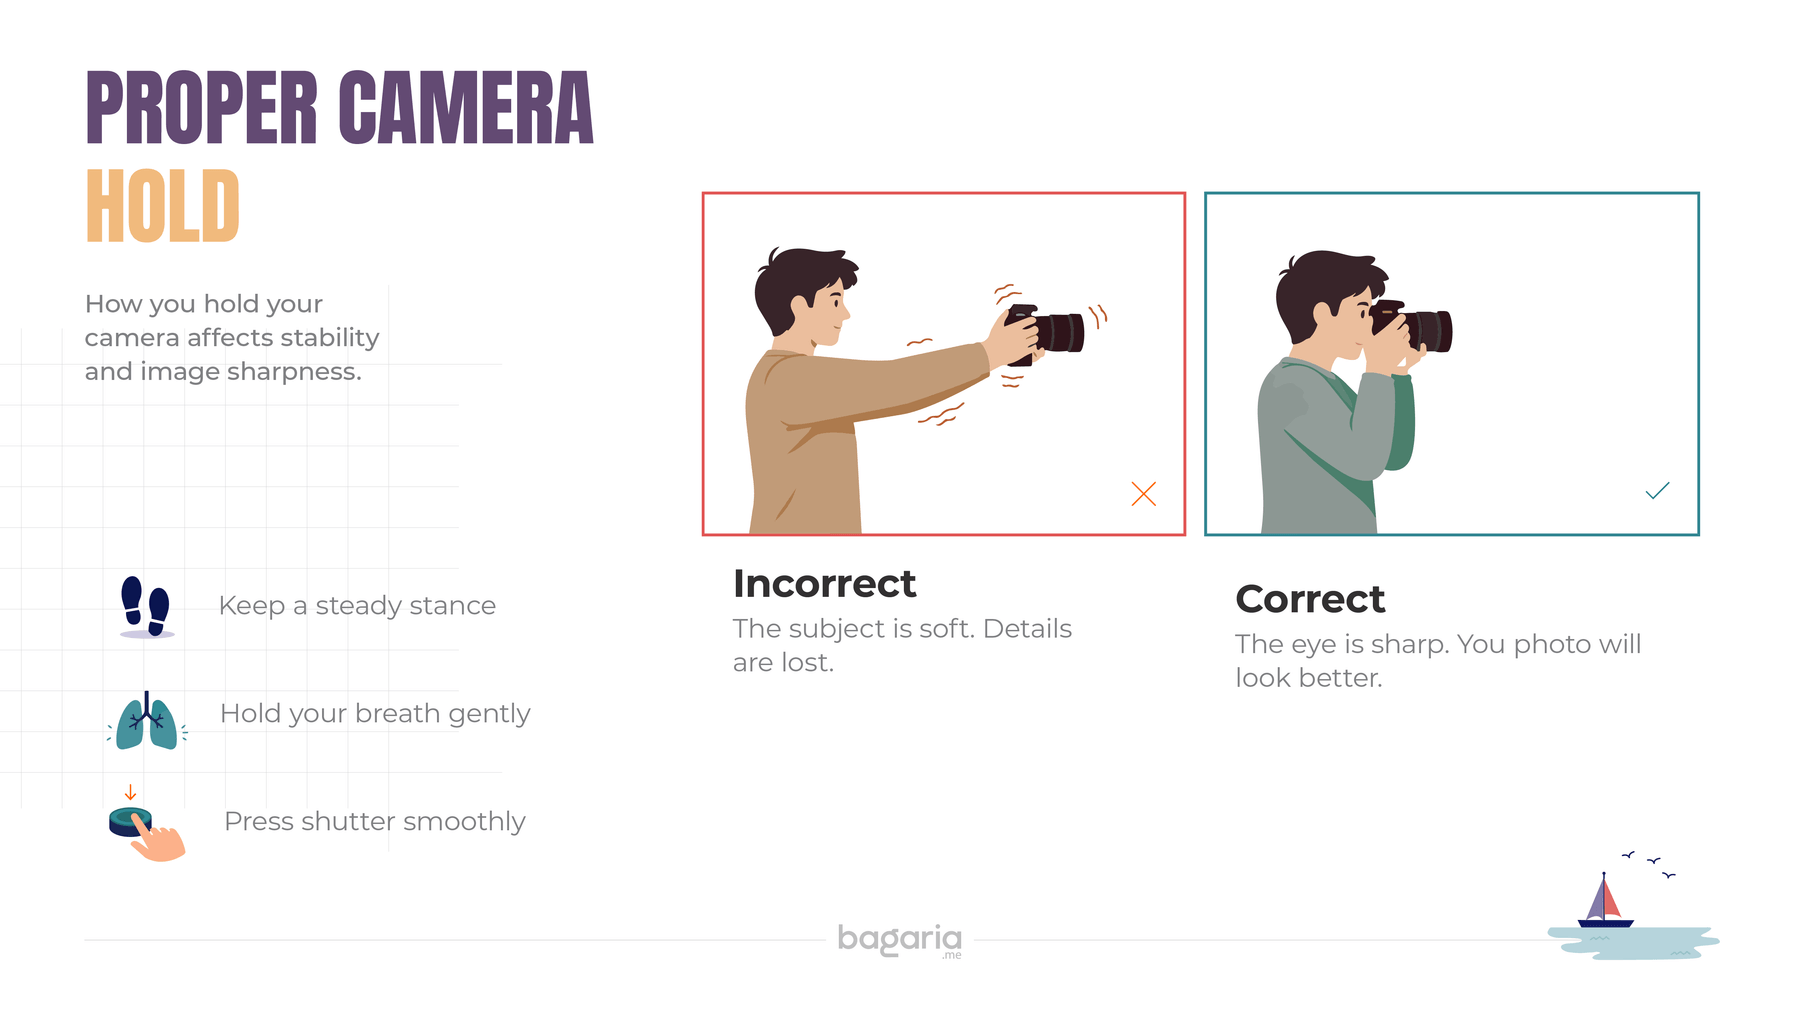 Diagram showing how to hold a camera for sharp wildlife photography
- Tuck your elbows against your ribcage (see the diagram above).
- Support the lens from underneath with your left hand, palm up.
- Grip the body firmly with your right hand.
- Stand with your feet about shoulder-width apart.
- Breathe out gently as you press the shutter.
- Use the viewfinder, not live view. It gives you a third point of contact.
Reach for a monopod, tripod, or beanbag when:
- the focal length is over 400mm
- the shutter speed drops below 1/500s
- you're waiting for long stretches in a hide
- the light is low
When space, time, and your framing allow it, a tripod is worth setting up. It almost always gives you a cleaner frame.
4. Don't fear ISO
The problem. You're in shade or early light. To keep the shutter fast, you need to raise ISO, but you worry about noise.
The fix. A sharp, noisy frame beats a clean, blurry one every time.
Where sharpness sits in the order of things
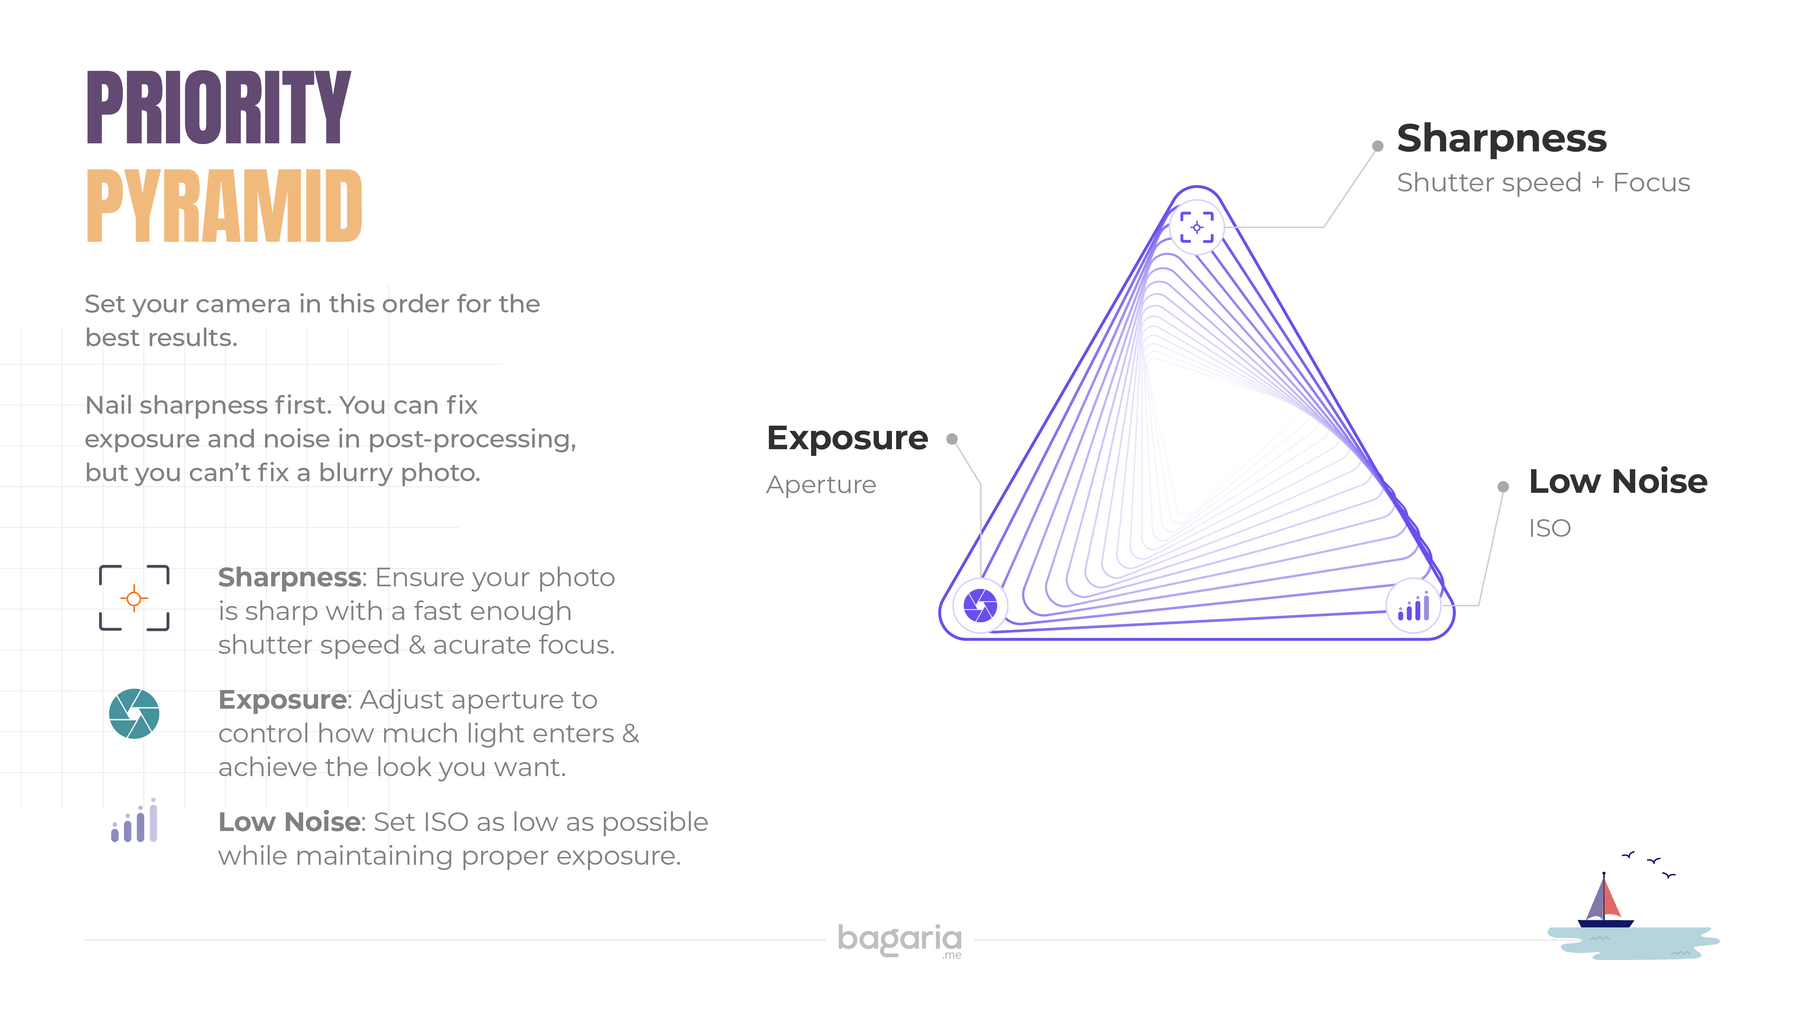 Priority Pyramid Diagram by Abhisek Bagaria
Modern cameras handle high ISO far better than most people expect. My rough guide:
- ISO 800 to 1,600: clean on any modern body
- ISO 3,200 to 6,400: fine for most wildlife work
- ISO 12,800 and up: use it when you have to, and keep sharpness first
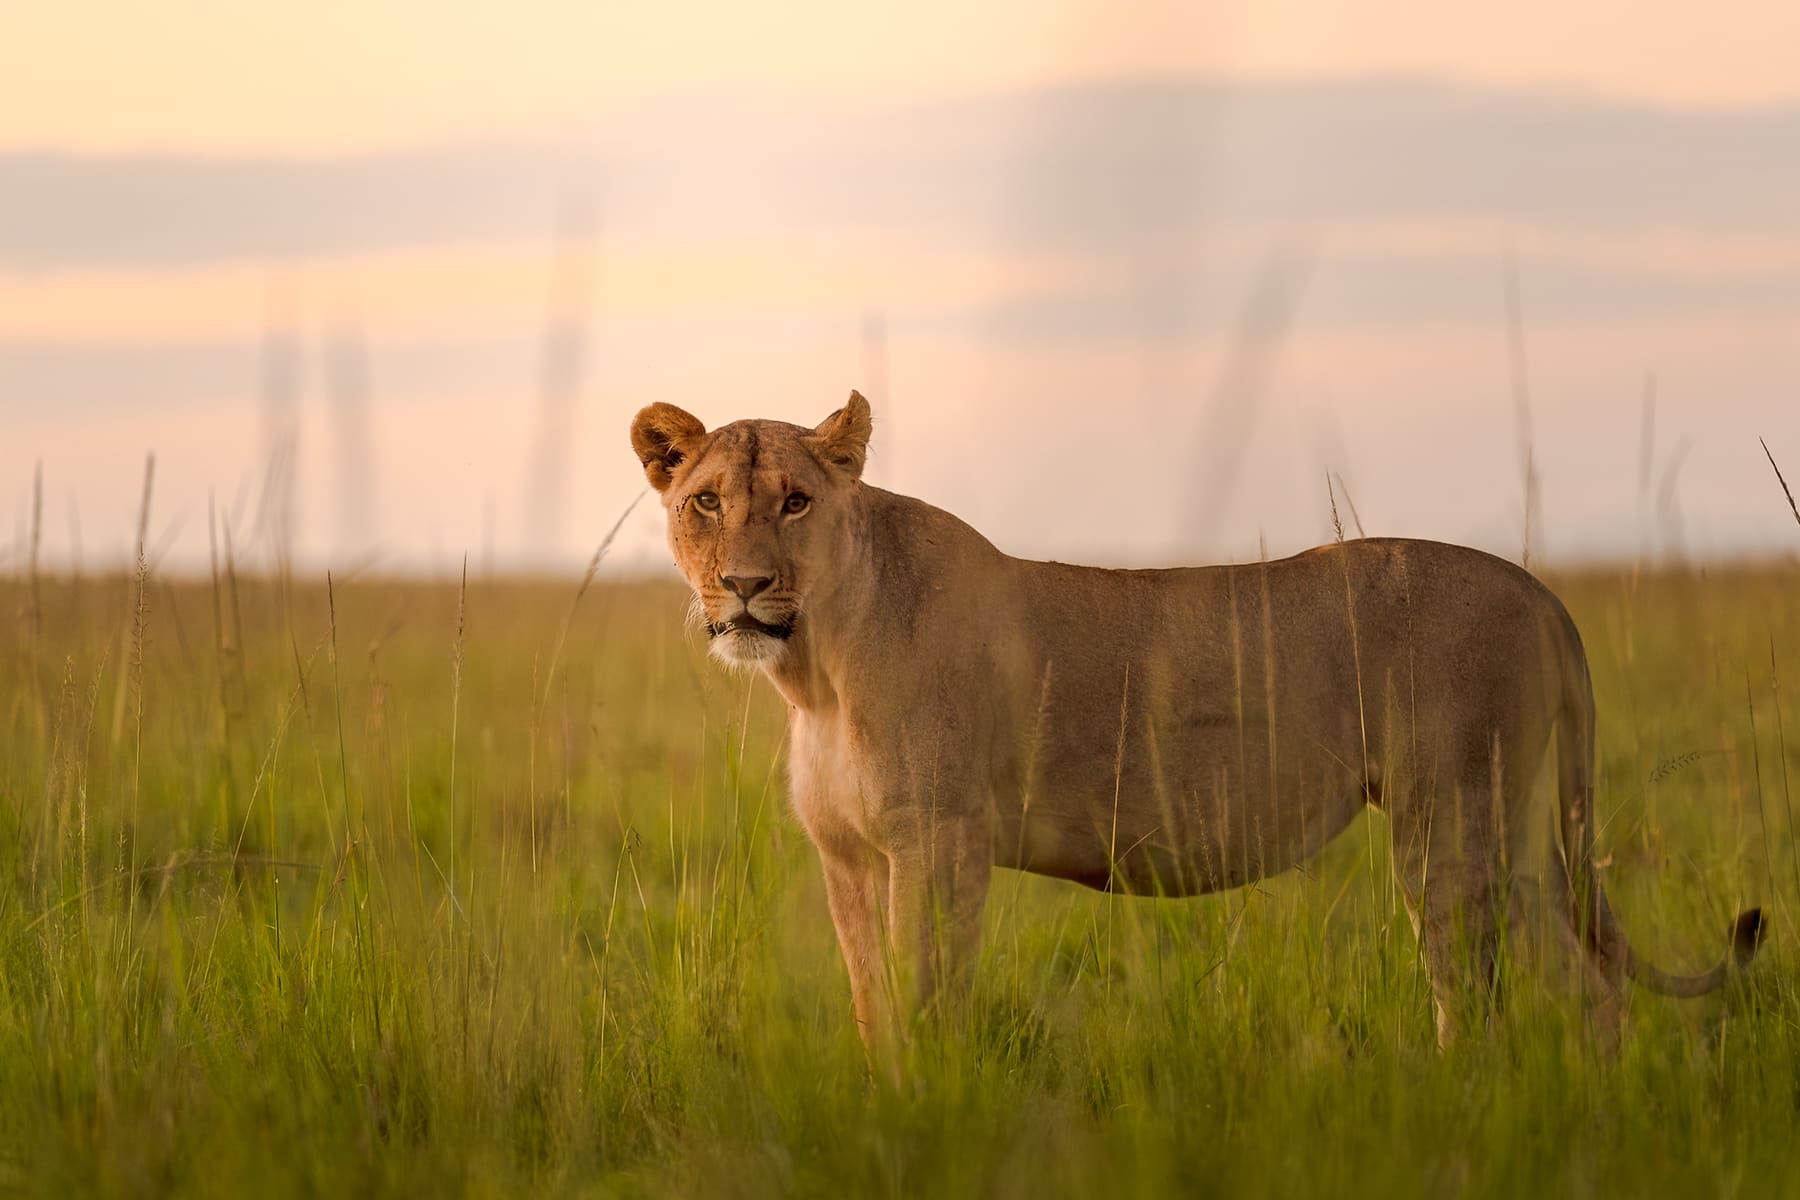 1/640s · f/2.8 · ISO 2500. The first light of morning in the Masai Mara.
You can clean up noise later. You can't rescue a frame lost to motion blur.
The Five-Second Check Before You Press
Before the shutter, run a quick mental pass. I remember it as S.H.A.R.P.
- S hutter speed fast enough? (1/500s minimum, 1/1000s for action)
- H and position stable? (elbows in, breathe out)
- A F mode right? (single for still, continuous for moving)
- R ight focus point? (on the eye)
- P ush ISO if you need to? (sharp over clean)
Run it until it becomes muscle memory.
Think in Systems
Here's what design work taught me that carries straight into photography. Problems are rarely random. They're the result of specific, findable causes. Approach a soft frame the way you'd approach a design problem:
- Name the pain point: blur.
- Map the process: how you set up and take the shot.
- Test one change at a time.
- Learn from each frame and adjust.
Working this way took my sharp-frame rate from roughly one in five to most of the take, over about six months.
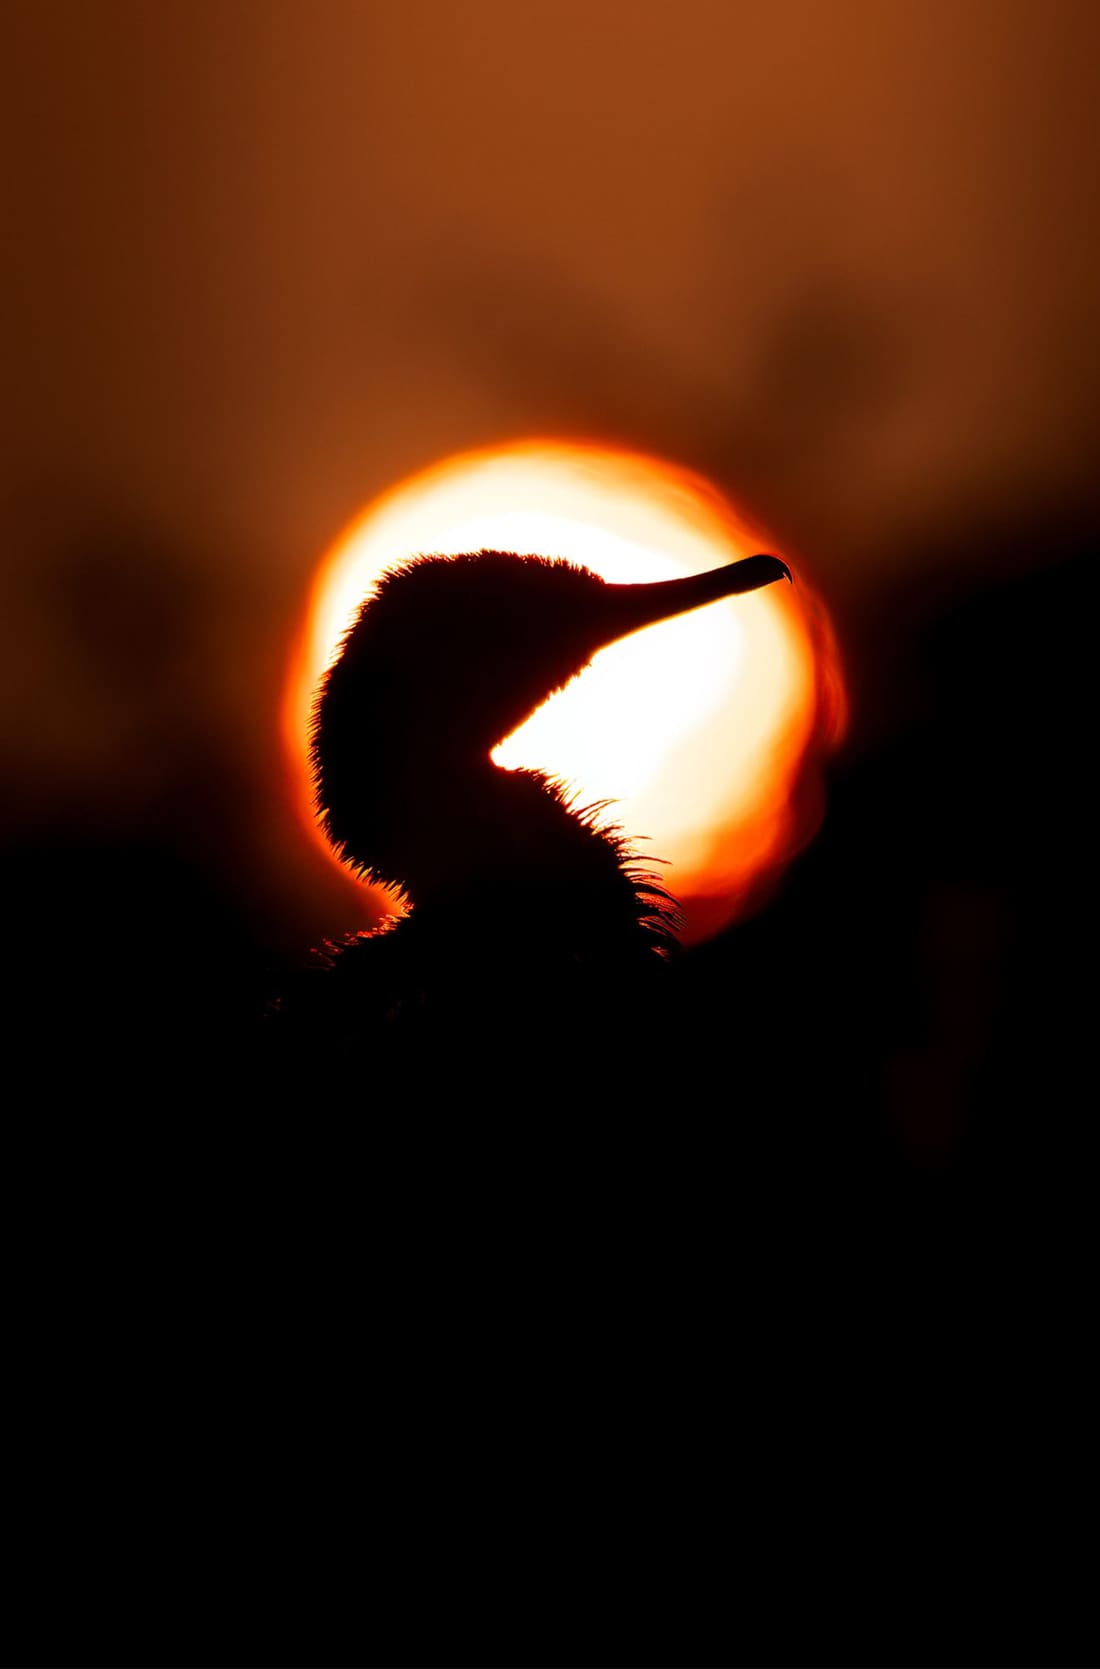
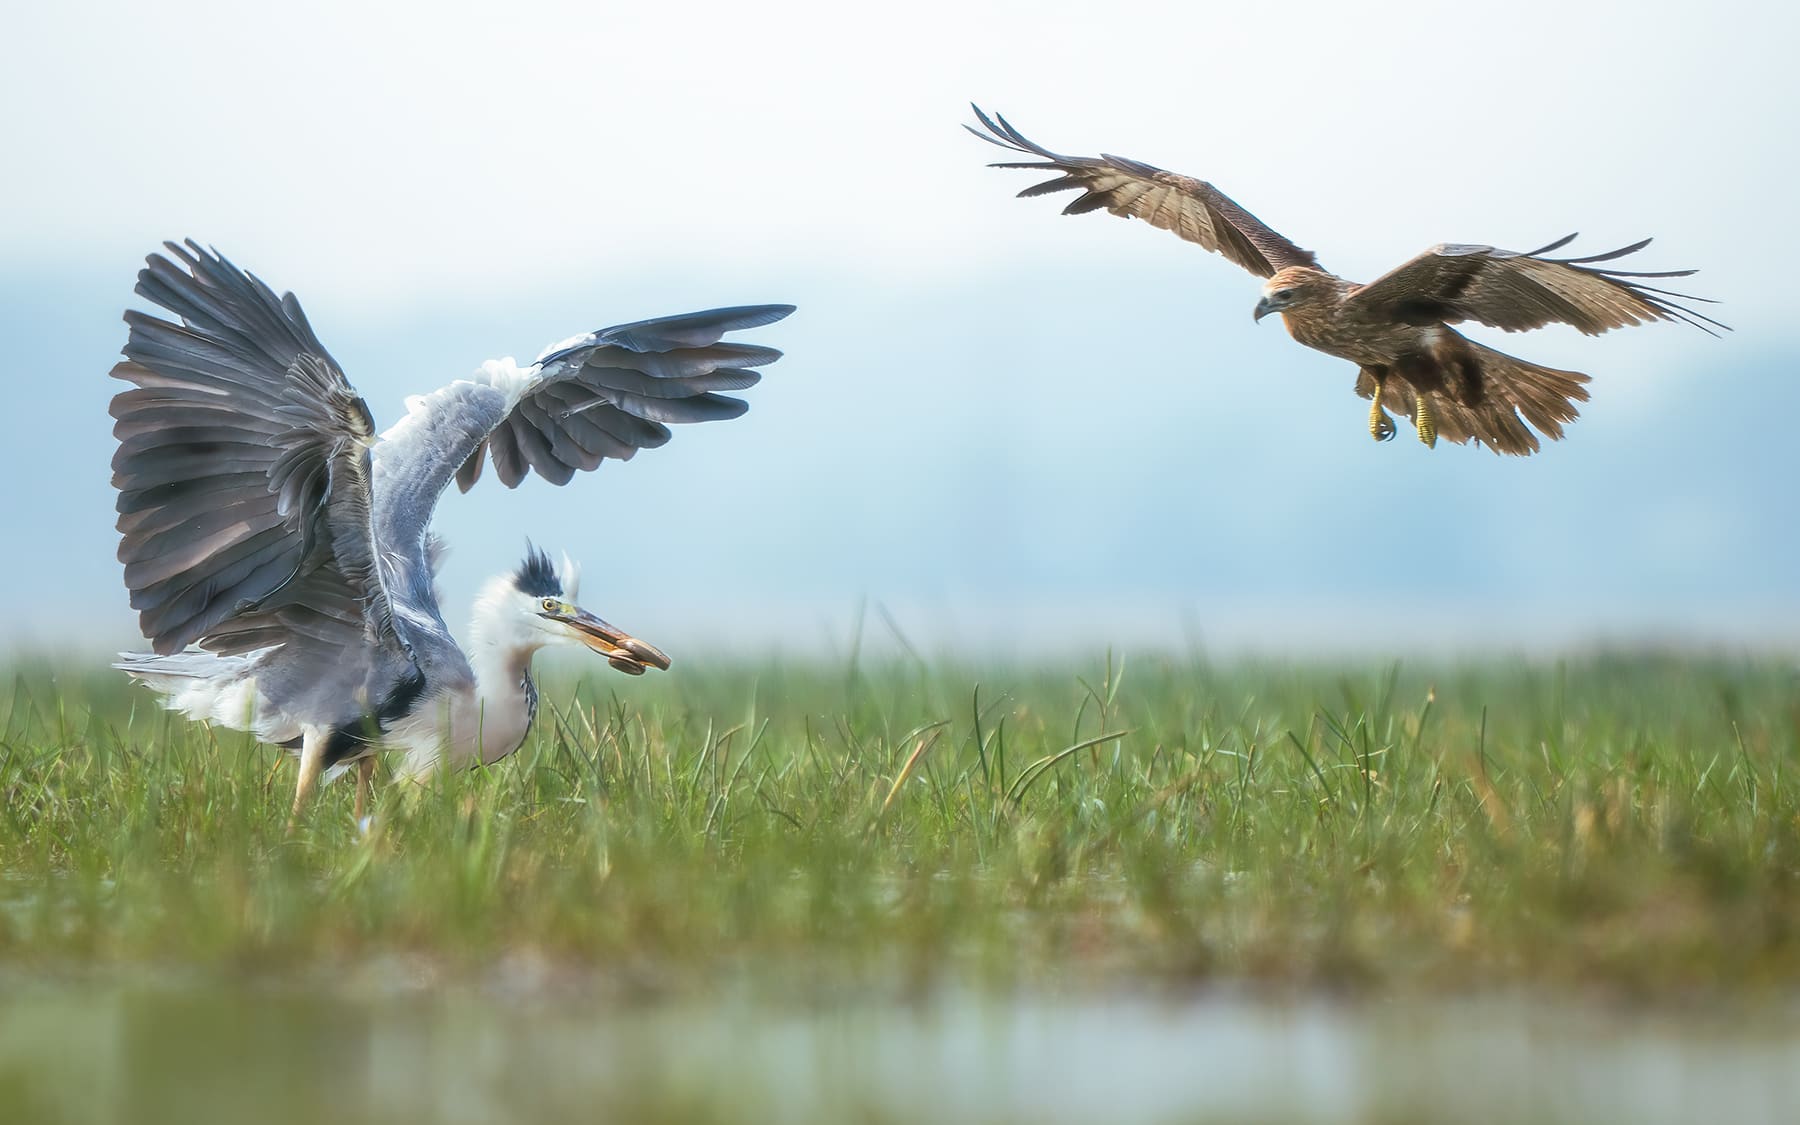 A fast action frozen in time
A Plan for Your Next Shoot
Before you go:
- Set the camera to Shutter Priority (Tv/S) or Manual.
- Set a minimum shutter speed of 1/500s.
- Switch to continuous AF (AI Servo / AF-C).
- Switch to single-point AF.
- Set Auto ISO with a ceiling around 6400.
In the field:
- Run the S.H.A.R.P. check before each frame.
- Focus on the eye, every time.
- Keep those elbows tucked.
- Zoom to 100% on the back of the camera to confirm sharpness.
- When something is off, change one setting at a time.
After the shoot:
- Pull your soft frames and work out why each one missed.
- Find your sharpest frame and note what you did right.
- Repeat.
Sharpness isn't a talent you're born with. It's a short checklist, run patiently, until it becomes second nature. Work through it on your next outing, and tell me which of the three causes was costing you the most. If you would rather fix it with me standing next to you, the winter bird mornings in Bharatpur are where this checklist gets drilled until it disappears.